
09.10.2026 · Admin
How to Replace Agricultural Tractor Markings
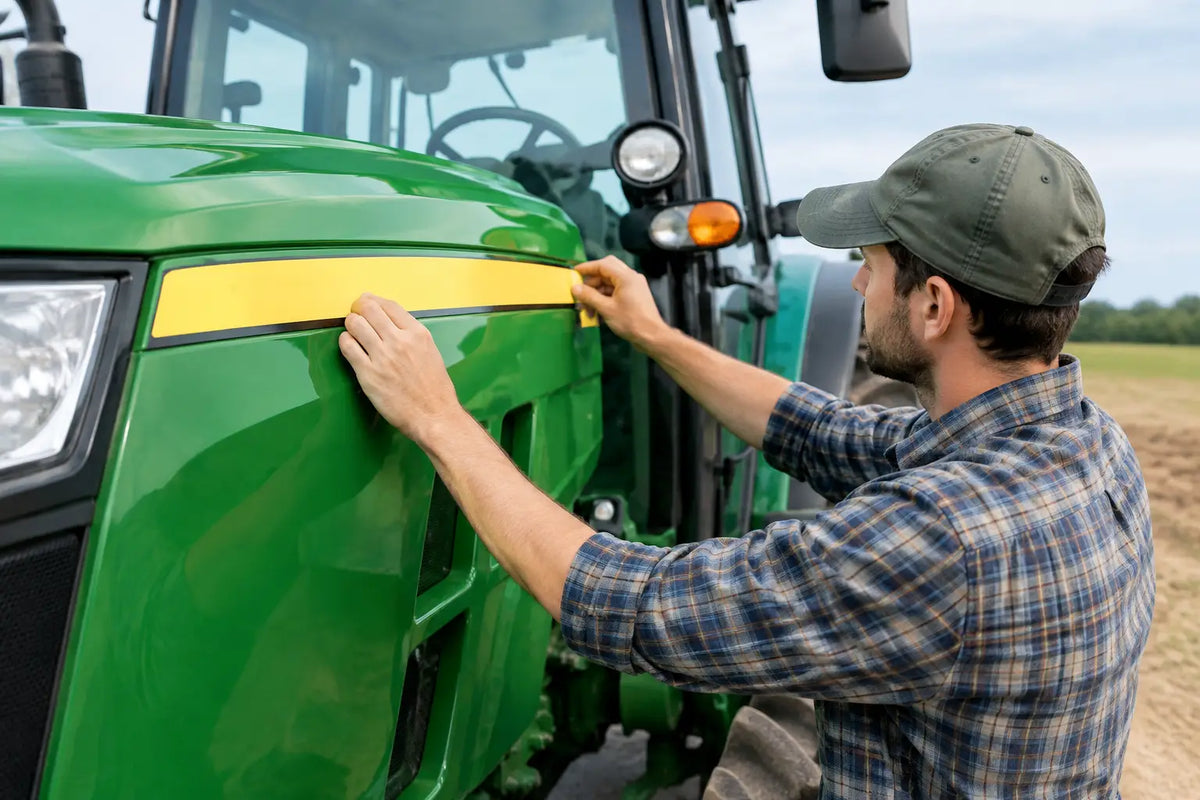
A faded hood stripe, a missing model number, or a cracked brand decal can make a dependable tractor look neglected long before its mechanical life is over. To replace agricultural tractor markings correctly, treat the job like any other restoration task: match the machine, prepare the surface, and use materials built for weather, washdowns, dust, and hard work.
Replacement markings do more than improve appearance. Clear model graphics help present equipment professionally for resale, fleet use, or a restoration project. Correct decals can also bring a rebuilt or repainted tractor closer to its original look without paying for obsolete OEM graphics. The best result comes from choosing a model-specific kit rather than trying to make generic lettering fit.
When to Replace Agricultural Tractor Markings
Most tractor decals do not fail all at once. Sun exposure dulls bright colors, pressure washing lifts edges, fuel residue weakens adhesive, and branches or shop work leave scratches through lettering. Once graphics become difficult to read or begin curling, replacement is usually more practical than touching up individual areas.
A repaint is another clear reason to install new markings. Fresh paint makes worn decals stand out for the wrong reason, while a complete replacement decal set gives the tractor a finished, consistent appearance. This matters on working equipment and collector machines alike. A clean, accurate decal layout shows that the owner paid attention to the details.
There is one important exception: do not treat every label as cosmetic. Safety decals, warning labels, operating instructions, serial-number plates, emissions labels, and load or tire information can have operational or regulatory significance. Replace damaged safety labels with the correct applicable wording and location. Never cover, alter, or substitute a tractor's VIN, serial number, or manufacturer identification plate.
Start With the Right Decal Kit
Fitment is the first decision. Two tractors in the same product family can have different hood shapes, trim layouts, engine options, or production-year graphics. Before ordering, identify the manufacturer, model, approximate year, and the exact body panels that need markings. Photos of the tractor from both sides are useful when comparing a kit to the existing layout.
A model-specific kit saves time during installation because the lettering, stripe lengths, and panel shapes are made for the intended equipment. Generic vinyl may look acceptable from a distance, but it often has the wrong proportions, color, or spacing. On a restoration, those differences are noticeable. On a work tractor, poor fitment can create lifted edges that collect dirt and fail early.
Material quality matters just as much as artwork. Agricultural equipment lives outside, often through strong UV exposure, rain, temperature swings, vibration, and frequent cleaning. Look for high-quality outdoor vinyl with a dependable adhesive and stated durability coverage. QuébecDecalStore produces equipment-specific replacement decal kits in premium vinyl backed by a five-year vinyl warranty, giving owners a practical option for tractors that need a professional-grade finish.
Custom decals are worth considering when a machine has been repowered, modified, repainted in a non-original color, or fitted with business branding. Custom work can be the right answer for a farm fleet or a one-off restoration, but it depends on the goal. If originality is the priority, follow the factory-style layout. If identification and presentation matter more, custom unit numbers or company graphics can make daily operation easier.
Surface Preparation Determines the Finish
Even the best tractor decal cannot bond properly to wax, silicone, oil, loose paint, or chalky oxidation. Preparation is where most installation problems begin or end.
Wash the panel thoroughly, then remove old adhesive and decal fragments without gouging the paint. A plastic scraper is safer than a metal blade on painted surfaces. Gentle heat can soften stubborn vinyl, but too much heat may damage paint or distort plastic hood panels. Work slowly, especially around edges, vents, and molded body lines.
After the old marking is removed, clean the area with a residue-free surface cleaner suitable for paint. The panel should be dry, smooth, and free of dust before the new decal goes on. If the tractor has fresh paint, confirm that the paint has fully cured according to the paint manufacturer's guidance. Applying vinyl too early can trap solvents and compromise adhesion.
Do not install decals over rust, peeling paint, or rough body filler. The adhesive follows the surface beneath it. If the panel is unstable, the new graphic will eventually lift with the failed finish. Repairing that area first produces a better-looking result and prevents doing the same job twice.
How to Replace Agricultural Tractor Markings Cleanly
Installation is straightforward, but alignment deserves patience. Work in a clean, dry space with moderate temperatures. Extremely cold vinyl becomes less cooperative, while excessive heat can make it stretch too easily. If a panel has deep curves or complex contours, avoid pulling the decal hard just to make it conform. Controlled placement is better than rushed stretching.
Before removing the backing paper, hold the decal against the tractor and compare it to reference photos, remaining original graphics, or the opposite side of the machine. Use low-tack masking tape to create a horizontal guide or a hinge along the top edge. Step back several feet and check the visual line. A decal can be technically level and still look wrong if it does not follow the tractor's body contour.
For larger markings, peel back only a portion of the backing paper at first. Apply the exposed section with a felt-edge squeegee or a clean applicator, working from the center outward to push out air. Continue gradually instead of removing all backing at once. This gives you control and reduces wrinkles.
Small bubbles may settle over time, but large trapped air pockets should be addressed immediately. Lift and reapply the section only if the vinyl has not been firmly pressed down. Once adhesive has fully bonded, repeated lifting can weaken it. Avoid cutting bubbles with a blade unless you have experience, since a cut can become an entry point for moisture and dirt.
After application, press every edge, corner, and narrow stroke firmly. Give the decal time to set before exposing the tractor to rain, washing, heavy dust, or field work. The exact waiting period depends on the material and conditions, but allowing a full day when possible is a sensible practice.
Details That Make a Tractor Look Restored
Placement is not only about making decals stick. Consistent spacing gives the tractor its factory-like appearance. Measure from panel edges, seams, fuel doors, hood lines, or bolt locations instead of estimating by eye. If you are installing both sides, complete one side carefully and use those measurements as a reference for the other.
Color choice also has a practical side. Original-style colors are usually best for restoration value and recognizable equipment branding. For commercial equipment, high-contrast custom identification can be more useful. A fleet number that can be read quickly in the yard may prevent confusion when several similar tractors are in service.
Avoid harsh polishing compounds and aggressive pressure-washer spray directly at decal edges. Wash the tractor regularly, but keep the nozzle moving and do not concentrate high pressure near corners. Properly installed quality vinyl is made for outdoor service, not abuse at close range.
Common Replacement Mistakes to Avoid
The most common mistake is ordering from a name alone without confirming the model and panel configuration. The next is applying decals to an unprepared surface. Both cost more time than a few minutes spent checking fitment and cleaning thoroughly.
Another issue is trying to install a long stripe in one fast motion. Long graphics need guides and gradual pressure. Take your time, keep the decal aligned, and do not force it around a curve that requires a different placement method. If the job includes several small labels and one large hood graphic, install the large graphic first. It establishes the visual reference for the rest of the kit.
A tractor earns its appearance the same way it earns its hours: through work, maintenance, and attention to the parts that matter. Replacing worn markings with the right kit and careful installation is a practical finishing step that keeps that machine looking ready for the next season.