
10.09.2026 · Admin
How to Align Graphics on Tractor Hood Right
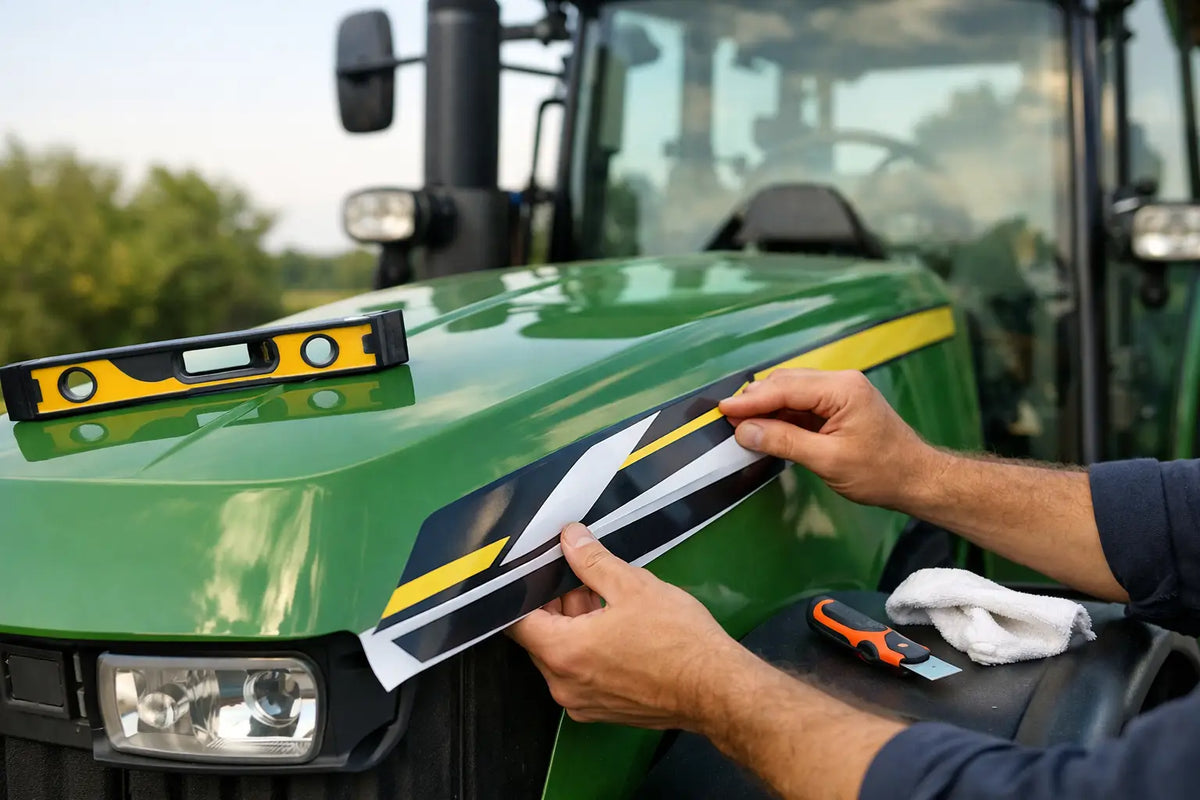
A crooked hood decal can make an otherwise clean tractor restoration look unfinished from across the yard. When you align graphics on tractor hood panels, the goal is not simply to make the decal stick. It is to place it where the factory intended, follow the hood’s body lines, and leave a finish that looks professional under direct sunlight.
Tractor hoods are rarely flat. Their curves, vents, seams, louvers, fuel-door openings, and grille edges can make a straight decal look crooked if you use the wrong reference point. Careful preparation and a deliberate application method will save material, reduce rework, and give your replacement graphics the clean appearance your equipment deserves.
Start With the Hood, Not the Decal
Before removing the backing paper, inspect the hood from several angles. Look for factory holes, body seams, embossed lines, grille openings, panel breaks, and the original decal outline if any remains. These fixed features are more reliable than judging placement by the outside edge of an older hood, which may have been repaired, bent, or repainted over the years.
If you are replacing a decal that is still partly visible, photograph it before removal. Take straight-on photos from both sides of the tractor and include nearby reference points. Measure the distance from the decal to a body line or hood edge in several locations. One measurement alone can be misleading on a tapered hood.
For a full restoration where the original graphics are gone, compare the two sides of the hood whenever possible. Tractor graphics usually mirror each other, but do not assume they are identical without checking for model numbers, warning labels, or directional elements. Lay the decals on the hood with the backing still in place and step back 10 to 15 feet. That viewing distance quickly reveals placement errors that are hard to see while standing beside the machine.
Clean and Prepare the Application Area
High-quality vinyl needs a clean, stable surface. Dirt, oxidation, wax, silicone-based dressings, oil residue, and polishing compounds can interfere with adhesion. A hood that feels smooth is not necessarily ready for a decal.
Wash the panel first to remove soil and grease. Once dry, wipe the decal area with a surface-prep cleaner appropriate for automotive or equipment paint. Use a clean, lint-free cloth and change cloth sides often so you lift contaminants instead of spreading them. Let the surface dry completely before laying out the graphics.
Paint condition matters. Freshly painted hoods should cure according to the paint manufacturer’s recommendations before vinyl is applied. Applying decals too soon can trap solvents beneath the film and weaken adhesion. On older paint, check for loose clear coat, chalking, rust edges, or flaking paint. Vinyl can cover cosmetic marks, but it cannot stabilize failing paint.
Temperature also affects the job. Work in a clean, dry space out of direct wind and strong dust. Moderate temperatures are best because cold vinyl is less flexible and hot panels can make adhesive grab too quickly. If the tractor has been sitting in the sun, bring the hood temperature down before beginning.
How to Align Graphics on Tractor Hood Panels
The most reliable method is to create your own alignment system before exposing adhesive. Use low-tack masking tape, a flexible tape measure, and a plastic squeegee with a soft edge. Do not use a screwdriver, credit card, or sharp tool that can crease or cut the vinyl.
Place the decal on the hood without removing the backing. Position it using the strongest visual references, such as a hood seam and grille opening, rather than the hood’s outer lip alone. On a long stripe, make sure the leading and trailing ends follow the same body line. A stripe can be level at the front yet drift upward toward the rear if the hood narrows.
Once placement looks correct, make small masking-tape reference tabs along the top and bottom edges. These tabs should show where the decal sits without marking the paint. For larger side graphics, add a vertical tape line at a key point such as the first letter of the model name or the front edge of a logo.
Then use the hinge method:
- Run a strip of masking tape across the center of the positioned decal, creating a hinge.
- Lift one half of the decal and remove the backing from that half only.
- Hold the vinyl away from the hood, then squeegee from the center hinge outward using overlapping strokes.
- Remove the center tape, peel the remaining backing, and apply the second half in the same controlled direction.
For a narrow model-number decal, a top hinge may work better than a center hinge. The right choice depends on the decal shape and the hood contour. Long horizontal stripes are usually easier to control from the center outward. Small emblems may be easier to align from one straight edge or body seam.
Follow the Hood’s Shape, Not Just a Level Line
A common mistake is using a bubble level as the only guide. A decal that is perfectly level to the ground may look wrong if the tractor hood rises or slopes toward the grille. Factory graphics were often designed to follow the machine’s visual lines, not the floor of the shop.
Stand back repeatedly during dry fitting. Follow the crease in the hood, the lower edge of a side panel, or the transition between the hood and dash area. If the decal has a stripe and lettering, check both components. The stripe may align with a body contour while the lettering remains intentionally level to the logo or model badge.
Curved hoods require patience. Never stretch a graphic aggressively to force it around a curve. Stretching can distort lettering, narrow stripes, and create tension that may cause lifting later. Instead, apply gradually with short squeegee strokes, allowing the vinyl to conform naturally. Gentle warmth may help on difficult contours, but too much heat can over-soften the material and make alignment harder.
Decide Whether a Dry or Wet Application Fits
Most equipment decals are installed dry because dry application gives the adhesive a firm bond and allows controlled placement with a hinge. It is generally the preferred method for smaller decals, cut lettering, and graphics with multiple separate pieces.
A wet application can provide extra repositioning time on certain larger graphics, but it is not suitable for every vinyl or adhesive system. Water trapped under a decal can delay bonding, create bubbles, and complicate installation around hood curves. Follow the decal manufacturer’s installation guidance before using any application fluid. When in doubt, use the dry hinge method on a clean panel.
Check Both Sides Before the Adhesive Sets
After applying one side, do not immediately install the opposite-side decal by copying a single edge measurement. Walk around the tractor and compare the graphics from the front and rear. Confirm that logos sit at the same height relative to each hood feature and that stripes appear to travel at the same angle.
Use matching reference points on both sides. For example, measure from the front grille edge to the beginning of the graphic, then from a hood seam to the bottom of the lettering. This is especially useful on tractors with rounded hoods, where the apparent height changes as the panel curves away from view.
Minor bubbles can often be worked toward the nearest edge using a squeegee wrapped in a soft cloth. Do not puncture a new decal unless the material instructions specifically support that repair method. Small air pockets may settle as the adhesive bonds, while a large trapped bubble should be addressed promptly before it becomes permanent.
Let the Decal Bond Before Hard Work
Once the graphic is in place, give it time to bond. Avoid washing the tractor, pressure washing around decal edges, or exposing the hood to extreme conditions immediately after application. Adhesive needs time to establish a durable hold, particularly around curves and panel edges.
After the initial bonding period, inspect the graphic in daylight. Press down any edge that has not fully seated, using a clean thumb or soft squeegee rather than a hard tool. A properly aligned, professional-grade decal should sit flat, read clearly, and look like it belongs on the machine.
A replacement graphic is a small part of a tractor restoration, but it carries a lot of visual weight. Take the extra time to measure, tape, dry fit, and view the hood from a distance. That careful setup is what turns durable vinyl into a finish that matches the condition and pride you put into the rest of the equipment.