
16.10.2026 · Admin
How to Fix Lifting Decal Edges That Keep Peeling
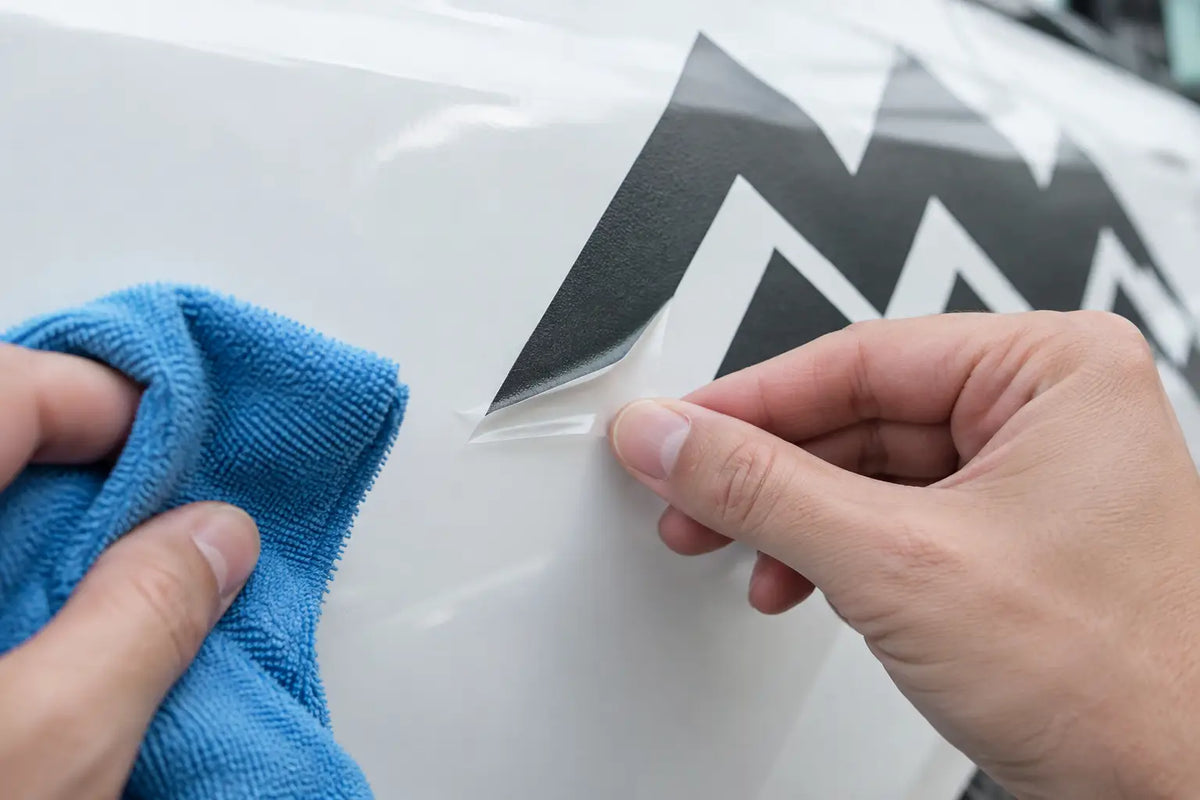
A decal corner lifting off a tractor hood or loader arm can quickly collect dirt, moisture, and wash chemicals. Once that happens, a small loose edge becomes a larger failure. To fix lifting decal edges properly, the goal is not simply to press them back down. You need to remove contamination, determine whether the adhesive is still sound, and use the right amount of heat and pressure for the surface.
For equipment that works outdoors, decal adhesion depends on more than the vinyl itself. Paint condition, surface texture, temperature, fuel residue, sun exposure, and cleaning habits all affect how long a repair will hold.
Why Decal Edges Start Lifting
Most lifting begins at an exposed edge, especially near panel curves, rivets, hood seams, recessed areas, and high-contact zones. Wind, pressure washing, brush contact, and repeated heating from the sun work against the adhesive over time.
The most common cause is contamination. A machine may look clean while still carrying a thin layer of wax, silicone dressing, hydraulic oil mist, diesel residue, or old polish. Those products can keep adhesive from making full contact with the painted surface. Dirt also works its way under a loose edge and prevents it from laying flat again.
Poor installation conditions are another factor. Vinyl applied to a cold panel may not flow into the paint texture or around a contour as it should. Applying decals to a panel that is hot from direct sun can cause a different problem: the vinyl may feel soft and stick initially, then shrink slightly as it cools.
Age matters too. If a decal has spent years in direct sunlight, its adhesive can dry out or lose bond strength. In that case, repairing one corner may be possible, but the remaining edges may follow soon after. A quality replacement decal kit is often the more dependable solution when several areas are lifting.
Inspect the Edge Before You Repair It
Do not apply glue until you know what is underneath the decal. Carefully lift the loose section only as far as necessary. If the adhesive side is still clean, tacky, and free of cracking, a heat-and-pressure repair may be all it needs.
If you see dust, soil, oil, or dried cleaning product beneath the vinyl, clean both the panel and the underside of the edge. If the adhesive is brittle, gray, heavily soiled, or no longer tacky, it is unlikely to hold with heat alone. Adhesive promoter or a small amount of compatible decal edge adhesive may help in limited situations, but neither product can turn worn-out vinyl into a long-term repair.
Look closely at the paint as well. Decals cannot permanently bond to peeling clear coat, rust, chalky paint, loose powder coating, or a surface saturated with oil. Correct the panel condition first. Otherwise, the decal will lift with whatever is failing beneath it.
What You Need for a Clean Repair
A simple repair requires clean materials and a steady hand. Use a lint-free cloth, isopropyl alcohol, a plastic squeegee or felt-edged applicator, and a heat gun or hair dryer. A heat gun gives more control on thick equipment panels, but it can damage vinyl or paint if held too close.
For stubborn edges where the original adhesive has weakened, use an adhesive designed for vinyl graphics or decal edge sealing. Use it sparingly. Excess adhesive can squeeze out, attract dirt, leave a glossy line, and make future decal removal more difficult.
Avoid household glue, super glue, contact cement, spray adhesive, and silicone sealant. These materials can stain the decal, react poorly with painted surfaces, or create a hard edge that cracks under vibration and weather exposure.
How to Fix Lifting Decal Edges Step by Step
Start with the equipment parked in a dry, sheltered area. The panel should be cool to the touch but not cold. A working range around 60 to 80 degrees Fahrenheit is generally comfortable for repair work. If the machine has been running, allow the surface to cool completely.
Clean the panel and decal underside
Wash away loose soil first, then dry the area thoroughly. Dampen a lint-free cloth with isopropyl alcohol and wipe the exposed paint beneath the raised edge. Clean the adhesive side of the decal gently, using minimal moisture. Do not soak the vinyl or scrub hard enough to stretch it.
Let both surfaces air-dry. This is where many repairs fail: sealing in moisture, cleaner residue, or a trace of oil gives the edge a temporary hold, not a durable bond.
Warm the vinyl carefully
Apply gentle heat to the lifted section. Keep the heat source moving and several inches away from the decal. You want the vinyl to become slightly more flexible, not hot, shiny, or soft enough to distort.
On a tractor hood, mower deck cover, or excavator body panel, warm the surrounding paint lightly as well. A modestly warm panel helps the pressure-sensitive adhesive settle back into the surface texture.
Press from the attached area outward
Use a plastic squeegee, felt applicator, or clean wrapped finger to press the decal down. Begin where the decal is still firmly attached and work toward the open edge. This pushes out air and helps prevent a small bubble from becoming another lifting point.
Use firm, even pressure. Do not pull the decal tight while pressing it down. Stretching vinyl around a curve creates tension, and tension is one of the fastest ways to make an edge lift again after the panel cools.
Add edge adhesive only when needed
If the decal will not stay down after cleaning, warming, and pressing, apply a very thin amount of vinyl-safe edge adhesive under the loose section. Use a toothpick, fine applicator, or the product’s narrow nozzle to keep the adhesive off the visible face of the graphic.
Press the edge into place immediately and wipe away any squeeze-out before it dries. Hold pressure for the manufacturer’s recommended time, then leave the equipment indoors or under cover long enough for the repair to cure. Avoid washing, rain, and heavy use during that period.
When Heat Will Not Solve the Problem
Heat works best when the original adhesive remains healthy. It will not correct vinyl that has shrunk, cracked, faded severely, or pulled away from multiple edges. A decal that has become too small for the panel will continue to fight against the repair, particularly around rounded hoods and molded plastic bodywork.
Replacement is the better call when the lifted area is long, the decal has tears, the printed color is sun-faded, or the equipment has several failing graphics. New, model-specific decals restore the correct look without patching a worn marking that will likely need attention again soon.
This is especially worthwhile on equipment being refurbished for sale or returned to regular fleet work. Clean, properly placed markings improve the machine’s professional presentation and can make model identification, safety labels, and operating information easier to read.
Keep Repaired Edges From Lifting Again
After repairing or replacing a decal, give the adhesive time to build its bond. Keep the machine dry for at least 24 hours when possible, and avoid pressure washing the graphic for several days. When washing later, do not aim a high-pressure nozzle directly at an edge. Spray at an angle and maintain a sensible distance.
Avoid tire shine, silicone-based protectants, and oily degreasers near decals unless they are fully rinsed away. Fuel spills and hydraulic fluid should be cleaned promptly with a product appropriate for painted equipment surfaces. Leaving petroleum residue along a decal edge invites lifting.
For new replacement graphics, surface preparation is the real foundation. Remove old adhesive completely, wash the panel, wipe it with isopropyl alcohol, and apply the decal on a clean, dry surface at a suitable temperature. High-quality vinyl provides the durability needed for farm, construction, lawn-care, and workshop equipment, but even premium material needs a properly prepared panel.
A loose edge is easiest to save when it is still small. Repair it before dirt gets underneath, keep aggressive wash spray off the edge, and replace aging graphics before a quick touch-up becomes a larger restoration job.